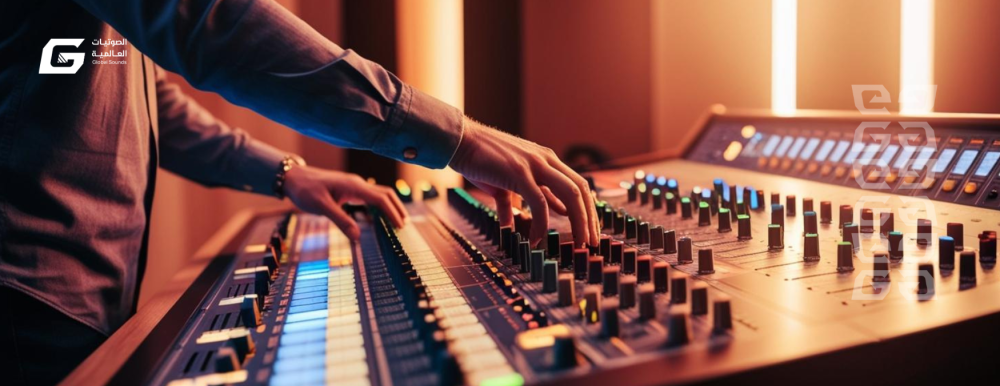
introduction
Audio mixer tuning is one of the most important steps to achieving professional sound quality in mosques, conferences, concerts, halls, and studios . Whether you're a professional or amateur audio engineer, properly tuning your mixer helps improve sound clarity and prevent unwanted distortion or interference.
In this article, we'll learn the steps for adjusting a mixer professionally, and the most important factors that affect sound quality.
The importance of adjusting the audio mixer
The mixer acts as the brains of the audio system, controlling the distribution of audio signals, balancing frequencies, reducing noise, and adjusting the volume of each audio source, such as microphones and musical instruments. If it is not adjusted properly, it can lead to:
- Weak or unclear voice.
- Problems with the balance of sounds.
- Feedback.
Steps to adjust the audio mixer professionally
1. Connect audio equipment correctly.
Before starting the weighing process, make sure all devices are connected properly, including:
- Microphones : Make sure they are connected to the appropriate inputs (XLR or TRS).
- Speakers : Adjust them according to the size of the place.
- External devices : such as amplifier or sound effects units.
2. Adjust the initial audio levels (Gain Structure)
- Use the Gain button to increase or decrease the channel sensitivity.
- Make sure the signal does not reach the maximum to avoid interference.
- Use a VU meter to monitor sound levels.
3. Balance frequencies using EQ
The equalizer (EQ) helps improve sound quality by adjusting different frequencies:
- Low frequencies (Bass) : Enhances the depth and warmth of the sound.
- Mid-range : Gives clarity to human voices and musical instruments.
- Treble : Increases the sharpness and brightness of the sound.
4. Use audio filters
- High-Pass Filter (HPF) : Reduces unwanted noise at low frequencies.
- Low-Pass Filter (LPF) : Used to reduce annoying high frequencies.
5. Adjust the volume (Fader Control)
- Use the fader to adjust the volume level for each channel.
- Keep the main channels at a suitable level to avoid interference.
- Maintain a balance between different audios such as music and human voice.
6. Feedback Reduction
If you are experiencing whistling or bouncing sound :
- Point the microphones away from the speakers.
- Use an equalizer (EQ) to reduce frequencies that cause feedback.
- Adjust the microphone sensitivity appropriately.
7. Add sound effects intelligently
Some nuts contain effects such as Reverb and Delay :
- Do not overuse it or the sound will become unclear.
- Use it with caution to enhance the aesthetics of natural sound.
8. Test and finalize the sound
- Play demo music or a microphone test to check the sound.
- Have someone else hear the sound in different parts of the room.
- Make final adjustments if necessary.
Professional tips to improve sound quality
- Use high-quality cables to reduce interference.
- Update the firmware of the breaker if it is digital.
- Constantly monitor volume levels during a broadcast or live performance.
- Do not turn the volume up too high or the sound will be distorted.
Conclusion
Weighing a sound mixer is a technical process that requires practice and experience. Using the steps above, you can achieve the best possible sound quality for any occasion or venue. If you need professional advice on sound systems, contact Global Acoustics for comprehensive solutions and high-quality equipment.
Keywords:
Mixer weight, mixer adjustment, sound quality improvement, professional audio systems, feedback, frequency adjustment, equalizer, global audio.

