

introduction
Connecting a mixer to a sound system is an essential step for professional sound tuning and distribution in venues such as theaters, concerts, or studios. The connection process involves carefully connecting multiple audio devices to achieve the ideal sound. Here are the key steps to follow when connecting a mixer to a sound system:
1. Connect the audio source to the mixer.
The first step is to connect an audio source, such as a microphone, instrument, or playback device, to the mixer's inputs. Most mixers have multiple inputs, such as XLR or 1/4-inch (jacket). Make sure you use the appropriate cables for each device:
- Microphones : Microphones are usually connected using XLR cables.
- Other devices : such as musical instruments or audio devices can be connected via 1/4-inch or RCA cables.
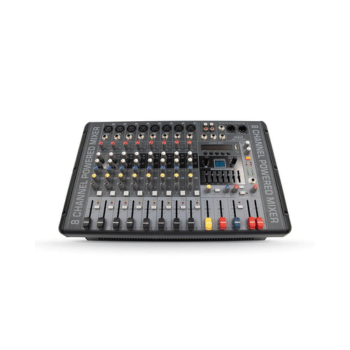
8-Channel 800W Bluetooth Speaker Mixer with Live Recording on Flash
2. Connect the mixer to the amplifier.
After connecting the audio sources to the mixer, the audio signal is sent from the mixer to the amplifier. This device amplifies the audio signal to be powerful enough to drive the speakers. Some mixers have a direct output to the amplifier, while others may require a separate connection.

3. Connect the mixer to the speakers.
The final step is to connect the amplifier to the speakers. This is done using special cables such as XLR or 1/4-inch cables. Ensure that the speakers are compatible with the amplifier's power output to avoid any sound problems or damage to the equipment.
Additional tips:
- Make sure to set the volume levels on the mixer to avoid distortion or clipping in the sound.
- If you are using powerful speakers or large amplifiers, make sure the mixer supports the power required for these devices.